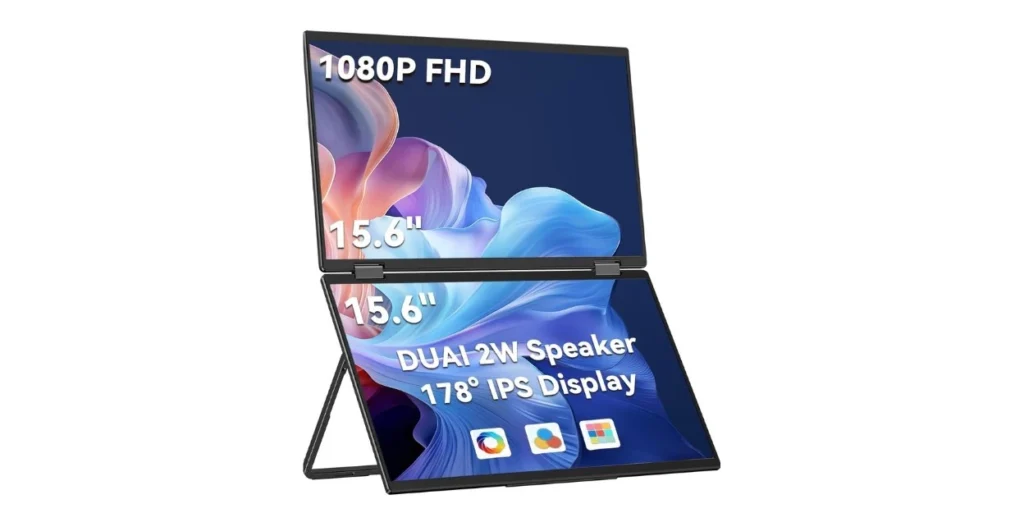
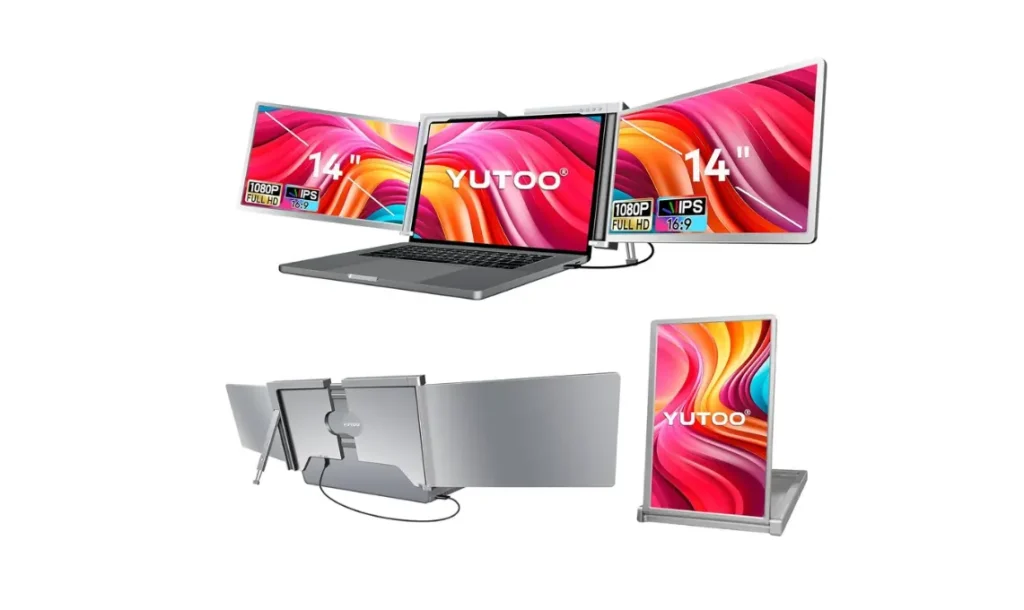
Have you ever found yourself squinting at your laptop screen, wishing it could just expand magically to give you more room to breathe? If the answer is yes, then you’re not alone. Many people, whether they’re juggling a million spreadsheets, creative projects, coding environments, or simply their favorite Netflix series alongside some work, crave that extra screen real estate. And guess what? There’s a way to give your eyes and your workflow a break.
Why Extend Your Laptop Display?
Adding an extra screen might sound like tech wizardry reserved for coders and gamers, but in reality, it’s for everyone. Think of it as upgrading from a studio apartment to a spacious two-bedroom – suddenly everything you do has more room to breathe. Whether you’re a multitasking queen, an artistic genius, or someone who just likes having one window open for work and another for YouTube cat videos, there’s a plethora of reasons to extend your laptop display.
Boosting Productivity
Have you ever tried to work on multiple tasks at once on a single screen? It’s like trying to squeeze into your favorite jeans from high school – not practical and slightly uncomfortable. By extending your laptop display:
- Parallel Processing: Run different applications side by side.
- Less Switching: Reduce the constant back-and-forth between windows.
- Organized Workspace: Keep everything visually accessible.
Improving Comfort
Your eyes deserve a break, and so does your posture. Constantly focusing on a cramped screen can lead to:
- Eye Strain: From grading pixels up close.
- Poor Posture: Hunching over to see tiny details.
- Mental Fatigue: From jumping between compressed windows.
The Equipment You’ll Need
Before you can transform into a dual-screen maestro, there are a few tools you need. Think of them as the ingredients for a productivity-boosting recipe.
Types of Monitors
Depending on your work and style, there are various monitors to consider:
| Monitor Type | Key Features |
|---|---|
| LED Monitors | Energy-efficient, bright display |
| LCD Monitors | Affordable, good all-round option |
| 4K Monitors | High resolution, stunning visuals |
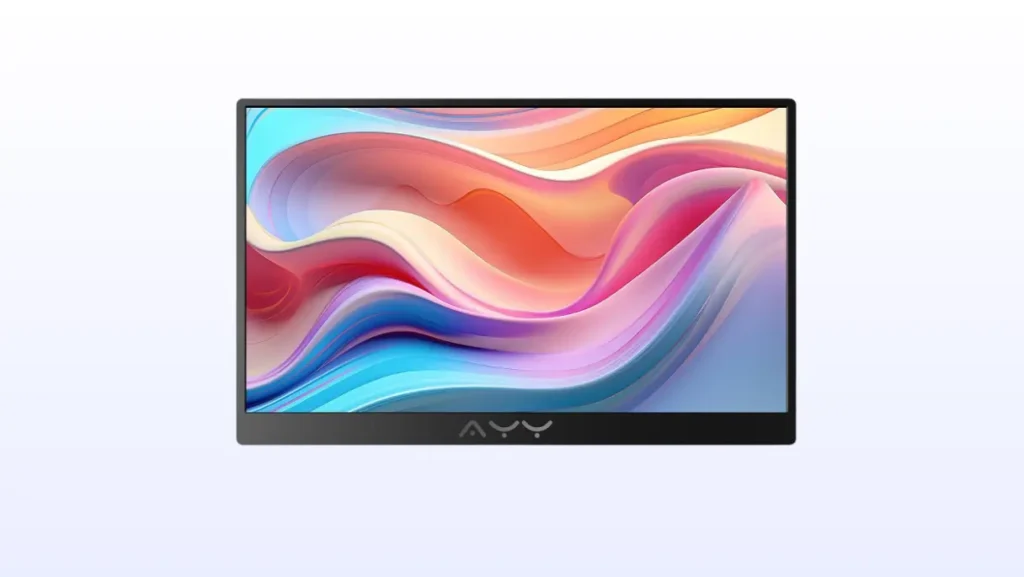
| Ultrawide Monitors | Expansive screen real estate, replaces multi-monitor setups |
Cables and Adapters
Your sleek, shiny laptop might not have all the ports you need. Here are some common connection types and their uses:
| Connector Type | Use |
|---|---|
| HDMI | Common for HDTVs and newer monitors |
| DisplayPort | High-definition video and audio |
| USB-C | Versatile, works with many modern monitors |
| Thunderbolt | High-speed, often found in Mac and premium laptops |
Stands and Mounts
To save desk space and improve ergonomics:
- Adjustable Monitor Stand: Helps you position the monitor at eye level.
- Wall Mounts: Frees up desk space if you’re short on it.
- Docking Stations: Provides extra ports for a clutter-free workspace.
Step-by-Step Guide to Extend Your Laptop Display
Now that you’re equipped with the essentials, it’s time to roll up your sleeves and extend that display. This step-by-step guide will make the process so easy, you’ll be wondering why you didn’t do it sooner.
Step 1: Connect the Monitor
Take your chosen connector cable (HDMI, USB-C, etc.) and plug one end into your laptop and the other into your monitor. If you’re using an adapter, make sure everything is securely connected.
Step 2: Power On
Turn on your new monitor. You’ll likely see a “No Signal” message at first, but don’t worry – you haven’t hit a technological dead end. We’re just getting started.
Step 3: Configure Display Settings (Windows)
For Windows users:
- Right-click on the desktop and select Display settings.
- Under “Multiple displays,” select Extend these displays.
- Arrange the monitors by dragging and dropping the boxes (representing screens) to match your physical setup.
Step 4: Configure Display Settings (Mac)
For Mac users:
- Click on the Apple menu and go to System Preferences.
- Select Displays and then go to the Arrangement tab.
- Check the box next to Mirror Displays if you want the same content on both screens, or uncheck it for separate displays.
Step 5: Fine-Tune Your Setup
Adjust the resolution, orientation, and any other settings to your liking. Make sure your main display is set correctly and that your additional monitor serves its intended purpose effectively – be it secondary workspace or focused content viewing.
Troubleshooting Common Issues
Even if you’re technologically savvy, sometimes things just don’t go as planned. Let’s fix common hiccups together, shall we?
Monitor Not Detected
- Check Connections: Ensure all cables and adapters are firmly connected.
- Restart Your Devices: Sometimes a fresh start can do wonders.
- Update Drivers: Outdated drivers can cause detection issues.
- Switch Ports: Try a different port on your laptop.
Incorrect Resolution
- Adjust the display settings to make sure both monitors are running at their optimal resolutions.
- If you’ve got a 4K monitor, make sure your laptop supports that resolution.
Display Flickering
- This could be due to a loose cable or a faulty port. Check your connections.
- Lower the refresh rate in the display settings to see if this resolves the issue.
Maximizing Your Dual-Monitor Setup
Congratulations, you’re now an owner of extra screen real estate! But having more space is only the first step – using it effectively is what counts.
Organizing Windows
Think of your monitors as an extension of your brain, a place for different tasks to live comfortably.
- Snap Assist and Shake (Windows): Snap windows into place for organizational bliss.
- Mission Control (Mac): Use it to switch between applications easily and organize your workspace.
Using Keyboard Shortcuts
Keyboard shortcuts can transform your workflow. Here’s a helpful table to get you started:
| Action | Windows Shortcut | Mac Shortcut |
|---|---|---|
| Move window to next monitor | Win + Shift + Left/Right | Control + Option + Command + Arrow |
| Maximize window | Win + Up arrow | Control + Command + F |
| Restore down (unsnap) window | Win + Down arrow | Control + Command + M |
Apps to Enhance Multi-Monitor Experience
Expand your abilities with some dedicated apps:
- Dual Monitor Tools: A suite for Windows that offers hotkeys, window moving, and more.
- Moom: A Mac app for window management and snapping.
Frequently Asked Questions
Q: Can I extend my display wirelessly?
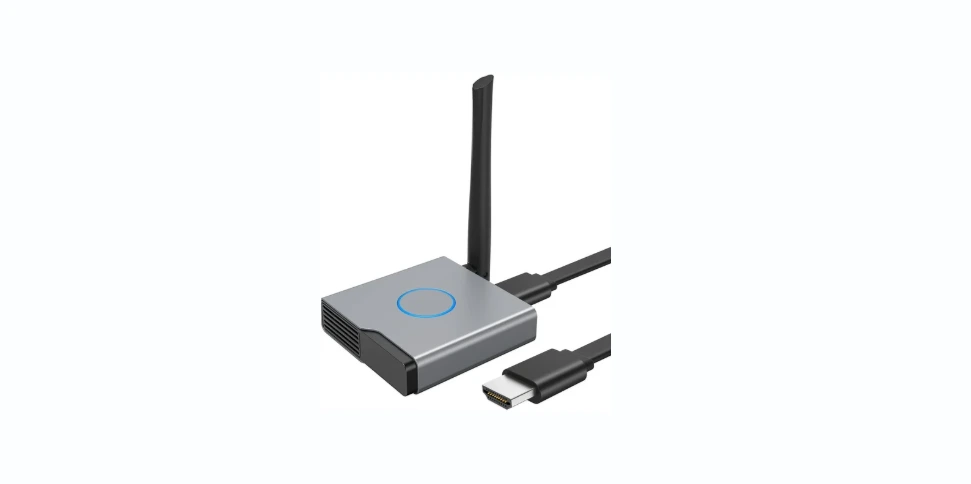
A: Yes, with certain setups and software (like Apple’s AirPlay or Miracast for Windows), you can extend your display without needing physical cables.
Q: Are there any limitations to extending displays?
A: The primary limitation tends to be your laptop’s graphic card capabilities, so always check the maximum resolution and number of supported displays.
Q: How can I choose the right second monitor?
A: Consider what you’ll use it for. For high-resolution tasks, go for 4K. For regular use, an LCD or LED display is ideal. Ultrawides are great if you anticipate needing lots of space.
Conclusion
Extending your laptop display isn’t just about having more screen space – it’s about making your digital life easier, more productive, and yes, a bit more fun. Imagine the freedom to glance at your emails on one screen while working uninterrupted on another. You’re essentially upgrading your workspace at a fraction of the cost of a brand-new system.
Remember, whether you’re a spreadsheet samurai, a designer, a gamer, or just someone tired of minimizing windows, there’s a dual-monitor setup that’s right for you. Embrace the extra screen space and navigate it with a pinch of humor, because, let’s face it, what’s life without a little lightheartedness?
So go ahead, give your laptop the equivalent of a wardrobe makeover and enjoy the spacious, organized, and efficient marvel that is a dual-monitor setup!
