Have you ever found yourself struggling with limited screen space while multitasking on your computer? Many of us have faced the dilemma of trying to juggle multiple windows on a single screen, only to end up feeling cramped and inefficient. It’s like trying to cook a gourmet meal in a tiny kitchen; it can be done, but it’s far from ideal. Let’s take a friendly stroll through the process of setting up dual monitors to make your life easier and your workspace more efficient.
Benefits of Using Dual Screens
Before diving into the technical details, let’s talk about why you might want to use two screens. The advantages are plentiful and can greatly enhance your productivity and overall experience.
- Increased Productivity: Imagine being able to work on a document while keeping your email or research source open on the second screen.
- Enhanced Multitasking: Watching a tutorial on one monitor while following along on the other, or coding on one screen with documentation on the other.
- Better Organization: You can keep your workspace tidy by having a dedicated screen for different tasks.
A dual-screen setup can transform the way you interact with your computer. Now, let’s get into the nitty-gritty details of achieving this.
Checking Compatibility
Before you buy a second monitor, it’s crucial to check if your computer can support an additional screen. There are a few things to consider:
Graphics Card
First, inspect your graphics card. Modern graphics cards usually support multiple monitors, but it’s always good to double-check. Below is a table to illustrate the common types of ports and what they look like.
| Port Type | Description |
|---|---|
| VGA | Blue port, older technology, analog signal |
| DVI | White port, can be analog or digital |
| HDMI | Common, found on most modern devices |
| DisplayPort | Newer, supports higher resolutions |
Available Ports
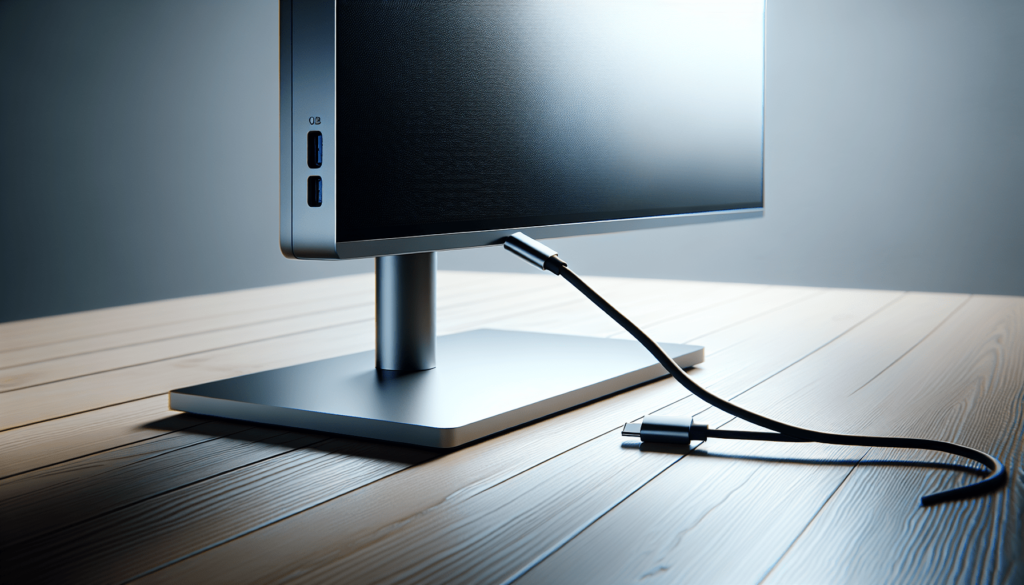
Once you’ve confirmed your graphics card can handle dual screens, check the available ports on both your computer and the monitors. Make sure you have the appropriate cables. Adapters are available, but it’s easier if the ports match.
Monitor Specifications
Ensure the new monitor has similar specifications to your existing one for a seamless experience. Matching resolution, refresh rate, and size will make for a more cohesive display.

Connecting the Monitors
Now that you’ve got all the hardware and you know your system can handle an extra screen, it’s time to connect everything. This is usually a straightforward process, but I’ll walk you through it step by step.
- Power Off: It’s always a good idea to turn off your computer before connecting new hardware.
- Plug In: Connect the new monitor to your computer using the appropriate cable.
- Power On: Turn your computer back on and power up the new monitor.
Operating System Settings
Windows
For Windows users, the setup process is relatively simple:
- Open Settings: Right-click on the desktop and select Display settings.
- Detect: Click on Detect to see if the new monitor is recognized.
- Multiple Displays: Under the Multiple displays dropdown menu, select Extend these displays.
- Adjust: Drag and drop the screen icons to match the physical layout of your monitors.
macOS
For macOS users, here’s how to set up:
- System Preferences: Click on the Apple menu and select System Preferences.
- Displays: Click on Displays.
- Arrangement: Under the Arrangement tab, you can drag the displays to configure their positions.
Troubleshooting Common Issues
Sometimes things don’t go as smoothly as we’d like. Here are some common problems and how to solve them.
Monitor Not Detected
If your computer doesn’t recognize the second monitor:
- Check Connections: Ensure all cables are securely connected.
- Restart: A simple restart can sometimes fix the issue.
- Update Drivers: Make sure your graphics drivers are up to date.
Display Settings Not Correct
Occasionally, monitors might not display correctly:
- Resolution Mismatch: Go back to the display settings and ensure both monitors have the correct resolution.
- Scaling Issues: Adjust the scaling if text or icons appear too small or too large.

Optimizing Your Dual-Screen Setup
Once your dual screens are up and running, you may want to optimize the setup for a smoother experience.
Taskbar Settings
On Windows, you can customize how the taskbar appears:
- Taskbar Settings: Right-click on the taskbar and select Taskbar settings.
- Multiple Displays: Adjust how the taskbar is shown on multiple displays.
Wallpaper and Background
For a cohesive look, you might want to extend your wallpaper across both screens. You can do this easily by selecting a panoramic background or using specialized software.
Keyboard Shortcuts
Learning a few keyboard shortcuts can dramatically improve your workflow:
| Shortcut | Function |
|---|---|
| Win + P (Windows) | Opens display options menu |
| Shift + Win + ←/→ | Moves the window to the left/right monitor |
| Ctrl + Shift + Esc | Opens Task Manager directly |
Real-Life Examples
To give you a more tangible sense of the benefits, let’s look at a couple of scenarios where dual monitors make life easier.
Professional Use
Imagine you’re a graphic designer working on a complex project. With a dual-screen setup, you can have your main editing software on one screen and your tool panels or reference images on the other. This way, you don’t have to constantly switch between windows, making you more efficient.
Personal Use
Even for personal use, dual monitors can be a game-changer. Think about following a cooking recipe on one screen while watching a TV show or listening to music on the other. Or, chatting with friends on social media while surfing the web on the second monitor.
Conclusion
Setting up dual monitors can be an incredibly rewarding venture that can boost both your productivity and enjoyment. By following these steps, you can seamlessly integrate an extra screen into your existing setup, minimizing frustration and maximizing efficiency.
Now, grab that extra monitor, check your cables, and enter a world of expanded desktop real estate. Happy multitasking!


