Have you ever found yourself juggling too many windows on your laptop screen, feeling like you’re trying to herd kittens? I know I have. It wasn’t until I stumbled upon laptop screen extenders that I started to wonder: Could this be the answer to my productivity woes? Let’s dig into the world of these nifty gadgets and figure out if they’re really worth it.
What Are Laptop Screen Extenders?
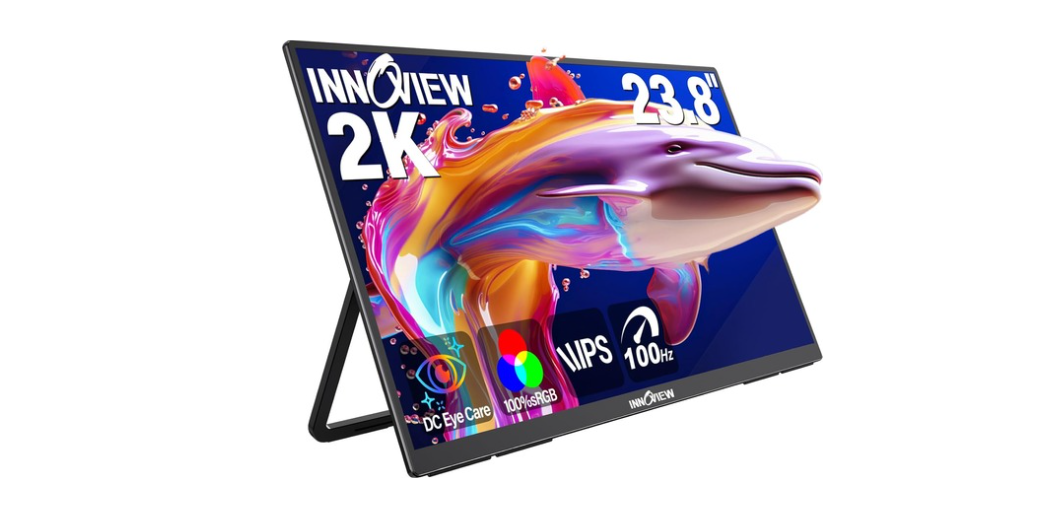
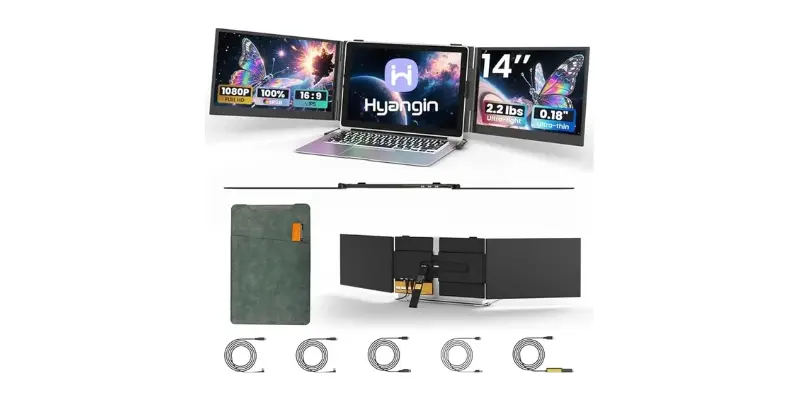
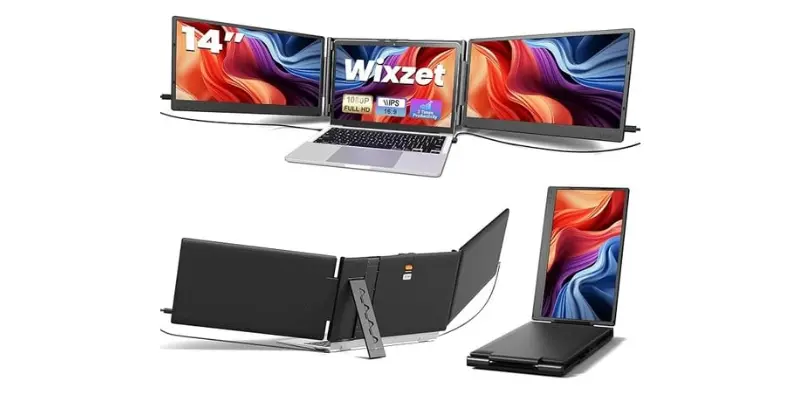
Laptop screen extenders, also known as portable monitors or secondary screens, are essentially external screens that you can attach to your laptop to expand your workspace. They can be incredibly useful, especially if you often find yourself multitasking or needing extra screen real estate for various applications.
Imagine working on a detailed spreadsheet while referencing a report on the other screen, or attending a Zoom meeting on one screen while taking notes on the other. Sounds like a productivity dream, right? But, of course, it’s important to weigh the pros and cons before making any purchase decision.
Pros of Using Laptop Screen Extenders
There are quite a few advantages to using laptop screen extenders, and I must say, some of them are quite compelling. Here are the primary benefits:
Increased Productivity
One of the most significant advantages of using a laptop screen extender is the potential boost in productivity. With more space to organize your applications and windows, you can work more efficiently.
For example, you can have your email open on one screen while drafting a document on the other. No more toggling back and forth between multiple tabs – everything you need is visible at a glance.
Enhanced Multitasking
Related to productivity, multitasking becomes a breeze with a laptop screen extender. Whether you’re a student working on a research paper or a professional handling multiple projects, having additional screen space allows you to juggle tasks more effectively.
A screen extender lets you keep track of your chats, monitor social media, follow news updates, and even stream music without crowding your primary workspace.
Convenience and Portability
Unlike traditional desktop setups with dual monitors, laptop screen extenders are designed to be portable. They’re typically lightweight and easy to attach, making them ideal for those who work remotely or travel frequently.
Pop one of these extenders into your bag alongside your laptop, and you can set up a dual-screen workspace anywhere – from your favorite café to a hotel room on a business trip.
Versatility
Laptop screen extenders aren’t just for work. Gamers, graphic designers, and video editors can also benefit from the additional screen space. Whether you’re editing videos, designing graphics, or playing a complexity-laden game, an extra screen can enhance your experience and performance.
Ergonomic Benefits
Believe it or not, laptop screen extenders can also support better ergonomics. By positioning an external screen at eye level and adjusting its angle, you can reduce neck and back strain caused by staring down at a laptop screen for extended periods.
This can be especially beneficial for those long work sessions, where maintaining a good posture is crucial to avoid discomfort or injury.
Potential Drawbacks of Laptop Screen Extenders
Of course, with so many advantages, there are also some downsides to consider. It’s important to look at the whole picture before deciding if a laptop screen extender is right for you.
Cost
One of the most noticeable drawbacks is the cost. While prices for screen extenders can vary significantly, they can be a bit of an investment. Here’s a quick look at the price range:
| Brand | Model | Price Range |
|---|---|---|
| ASUS | ZenScreen | $150 – $250 |
| Lenovo | ThinkVision | $200 – $400 |
| AOC | I1601FWUX | $150 – $250 |
| Dell | C1422H | $300 – $450 |
Considering the price, it’s crucial to evaluate whether the benefits align with what you’re willing to spend. For some, the productivity gains may outweigh the cost, but others might find the price tag a bit steep for what it offers.
Potential Compatibility Issues
Another issue to consider is compatibility. Not all laptop screen extenders work seamlessly with every laptop model. Some may require specific ports like USB-C, mini HDMI, or even software installation.
Compatibility Chart:
| Brand | Model | Required Ports |
|---|---|---|
| ASUS | ZenScreen | USB-C, mini HDMI |
| Lenovo | ThinkVision | USB-C |
| AOC | I1601FWUX | USB-C |
| Dell | C1422H | USB-C |
Make sure to check the requirements of the screen extenders and ensure that your laptop meets these before making a purchase.
Additional Weight and Bulk
While generally portable, a screen extender does add some weight and bulk to your setup. If you’re someone who travels light, this might be a point of concern. Your sleek, slim laptop bag might need an upgrade to accommodate the extra screen.
Power Requirements
Depending on the model, some screen extenders may also require an additional power source, which could mean more cables and potential inconvenience. If you’re working in places without easy access to power outlets, such as a park or a moving vehicle, this could be a limiting factor.
Types of Laptop Screen Extenders
When it comes to selecting a laptop screen extender, several types and models cater to various needs and preferences. Understanding the different types can help you make an informed decision.
Clip-On Extenders
Clip-on extenders are designed to attach directly to your laptop. They usually come with adjustable arms or clips that hold the screen extender in place. These are particularly handy because they create a seamless, dual-screen experience without the need for additional stands or space.
Standalone Monitors
Unlike clip-on extenders, standalone monitors come with their own stands or mounts. They offer more flexibility in positioning but may require extra desk space. These monitors are often larger and might provide better resolution and display quality compared to clip-on models.
Hybrid Models
Some models combine the best of both worlds – they can be clipped onto your laptop or used as standalone monitors. These hybrid models offer versatility, but they can also come with a higher price tag and additional weight.
Specialty Extenders
Specialty extenders cater to niche markets, such as gamers or graphic designers. These models often feature higher refresh rates, better color accuracy, and additional ports for connecting peripherals. While more expensive, they cater to specific needs that standard models might not address.
Top Laptop Screen Extender Brands and Models
To help narrow down your choices, here are some of the top brands and models currently available, along with their key features:
ASUS ZenScreen
ASUS is a well-known brand in the tech world, and their ZenScreen series is a popular choice. With sleek designs and reliable performance, ZenScreens offer decent resolution and lightweight features.
| Model | Key Features | Price Range |
|---|---|---|
| ZenScreen MB16AC | USB-C connection, 15.6″ screen, Full HD | $200 – $250 |
| ZenScreen MB16AMT | Touchscreen, built-in battery, 15.6″ screen | $250 – $300 |
Lenovo ThinkVision
Lenovo’s ThinkVision series focuses on business and productivity. These monitors are known for their robust build quality and excellent display features.
| Model | Key Features | Price Range |
|---|---|---|
| ThinkVision M14 | USB-C connection, ultra-slim, 14″ screen | $200 – $250 |
| ThinkVision M15 | Dual USB-C ports, lightweight, 15.6″ screen | $250 – $300 |
AOC
AOC offers a range of affordable and reliable portable monitors. Their models provide good value for money and are well-suited for general use.
| Model | Key Features | Price Range |
|---|---|---|
| I1601FWUX | USB-C connection, 15.6″ Full HD | $150 – $200 |
| E1659Fwu | USB 3.0 connection, 16″ screen | $90 – $150 |
Dell
Dell is another trusted name, known for their quality and performance. Their portable monitors often feature high-quality displays and robust build materials.
| Model | Key Features | Price Range |
|---|---|---|
| C1422H | USB-C connection, 14″ Full HD, comfort view | $300 – $400 |
| P2419H | 24″ screen, ultrathin bezels, height adjustable | $200 – $300 |
How to Set Up a Laptop Screen Extender
Setting up a laptop screen extender is generally straightforward, but it can vary slightly depending on the model. Here’s a general step-by-step guide:
Step 1: Unbox and Inspect
Carefully unbox the extender and inspect all included components such as cables, adapters, and instruction manuals. Ensure you have everything needed for the setup.
Step 2: Connect Cables
Depending on your extender, connect the necessary cables. Most modern extenders use USB-C or mini HDMI connections. Plug one end of the cable into your laptop and the other into the screen extender.
Step 3: Install Drivers (if necessary)
Some models may require you to install drivers or software for optimal performance. Follow the provided instructions to download and install any required drivers.
Step 4: Position the Extender
Position the extender according to your workspace. If you have a clip-on model, secure it to the side or top of your laptop screen. For standalone models, place them on a stable surface next to your laptop.
Step 5: Adjust Display Settings
Once connected, you might need to adjust your laptop’s display settings. Navigate to your laptop’s display settings and configure the extender as an extended display. You can choose the orientation, resolution, and positioning according to your preferences.
Tips for Maximizing the Use of a Laptop Screen Extender
Once you’ve set up your new screen extender, there are several ways to make the most out of it:
Organize Your Workspace
An organized workspace can significantly enhance your productivity. Use one screen for primary tasks and the other for secondary activities. For example, place your main work project on one screen and your reference materials or communication tools on the other.
Keyboard Shortcuts
Familiarize yourself with keyboard shortcuts for navigating between screens. This can save you time and effort, making your multitasking smoother and more efficient.
Software Tools
Utilize software tools designed for multi-screen setups. Applications like DisplayFusion or Duet Display can help you manage multiple displays more efficiently, offering features like customizable layouts, multi-monitor taskbars, and more.
Ergonomic Positioning
Ergonomics should never be overlooked. Ensure both screens are at eye level and positioned correctly to avoid strain. Consider using laptop stands or mounts if needed.
Protect Your Investment
Lastly, consider investing in protective gear like screen covers or carrying cases for your extender. This can protect it from scratches or damages, especially if you’re frequently on the go.
Conclusion: Are Laptop Screen Extenders Worth It?
Whether a laptop screen extender is worth it depends largely on your needs and work habits. If you frequently find yourself multitasking, juggling multiple applications, or needing extra screen real estate, an extender can be a game-changer. The boost in productivity, enhanced multitasking capabilities, and ergonomic benefits are compelling reasons to consider investing in one.
Conversely, the cost, potential compatibility issues, and additional weight shouldn’t be overlooked. It’s crucial to weigh these pros and cons against your specific requirements and budget.
For me, the convenience and productivity gains far outweighed the initial investment. The ability to work more efficiently and comfortably has been well worth it. But, of course, your mileage may vary.
So, if you find yourself often fumbling through numerous tabs or wishing for more screen space, a laptop screen extender might just be the solution you need.


