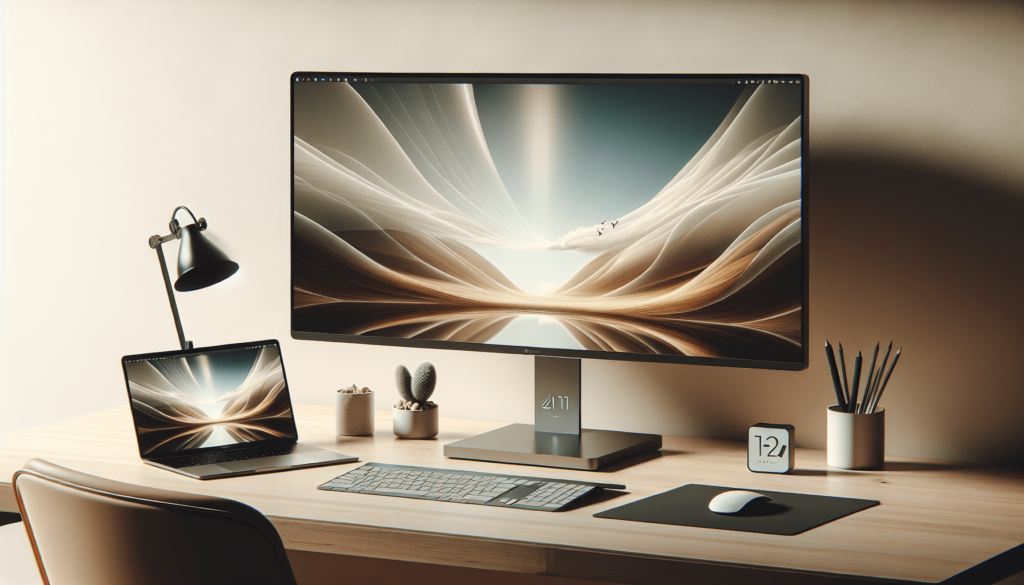
Have you ever wondered if you can simply plug your laptop into a monitor and call it a day? It’s a question that seems straightforward, but just like assembling furniture from Ikea, there’s often more to it than meets the eye. Let’s unpack this together and see what it takes to connect your laptop to a monitor seamlessly.
Compatibility: Will It Work?
Before you start searching for that elusive HDMI cable buried in your junk drawer, let’s first consider if your laptop and monitor are compatible. Compatibility hinges on two primary factors: the physical ports available and the software support needed.
Ports: The Physical Connection
Different devices come with various ports. If you’re like me, you’ve probably noticed that your laptop, whether it’s a MacBook, a sleek Dell, or an aging Lenovo, has a variety of holes that look like they could be for just about anything. However, not all of them are for video output. Let’s break down some of the most common ports:
| Port Type | Icon | Device Examples | Output Capability |
|---|---|---|---|
| HDMI | 🔌 | Most modern laptops and monitors | Video & Audio |
| USB-C | 🔌 | MacBook, Google Pixelbook | Video & Audio |
| DisplayPort | 🔌 | High-end monitors, gaming laptops | Video Only |
| VGA | 🔌 | Older laptops and projectors | Video Only |
Chances are, your laptop will have one or more of these ports. The critical point here is to make sure both your laptop and monitor have a matching port type or that you have an adapter handy.
Software: Does Your Laptop Support Dual Displays?
Okay, you’ve figured out that your laptop has an HDMI port, great! But wait, does your operating system support dual displays? Most modern operating systems do, but settings may need to be tweaked. Here’s a quick rundown for various operating systems:
Windows
In Windows, you can easily manage multiple displays through the Display Settings menu. Once you plug in the monitor, right-click on the desktop and choose ‘Display settings’. From there, you’ll find options to extend, duplicate, or use only one display.
macOS
For Mac users, the process is equally intuitive. Plug the monitor into the MacBook, go to ‘System Preferences’, and select ‘Displays’. Here, you can arrange your displays, adjust resolution, and even choose which monitor will have the “Menu Bar.”
Linux
Linux users… well, you probably know what you’re doing if you’re using Linux. But for those new to it, tools like ‘xrandr’ or the settings menu in your window manager can help configure multiple displays.
Cabling: Which Cable Do I Need?
Now that we’ve deciphered the ports and confirmed software support, let’s talk cabling. Using the right cable is crucial to get the best visual quality and overall experience.
HDMI
HDMI cables are widespread, mainly because they can carry both video and audio signals. They’re great for any setup that requires simplicity. Just plug and play!
USB-C
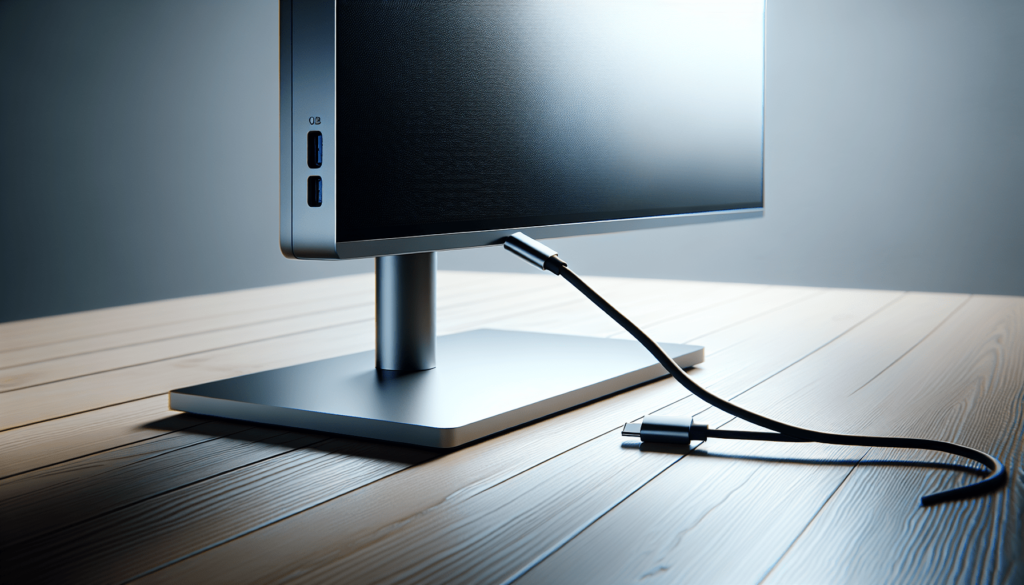
The versatile USB-C is the Swiss Army knife of cables. It can carry video, audio, power, data, and even a friendship bracelet if that were possible. But keep in mind that not all USB-C ports support video out; look for a little icon that resembles a small monitor or read the specifications for your device.
DisplayPort
If you are gaming or dealing with high-performance tasks, DisplayPort is your go-to. It supports higher resolutions and refresh rates compared to HDMI. However, it only carries video signals, so you’ll need a separate solution for audio.
VGA
VGA feels like a relic from a bygone era. It’s an analog connection, which means it generally offers lower resolution and can be susceptible to interference. Use this only if it’s your last resort or if you’re plugging into an older projector.

Setting Up: Plugging It In
Alright, you’ve ensured compatibility, selected the perfect cable, and adjusted software settings. Now comes the moment of truth: plugging it in. Surprisingly, this is usually the easiest part.
- Turn Everything Off: Just a precaution. It’s always a good idea to turn off both devices before plugging in cables.
- Plug It In: Connect the right port from your laptop to the corresponding port on the monitor with your selected cable.
- Turn Devices On: Boot up your laptop and monitor. The boot sequence might differ slightly based on your setup, but is generally straightforward.
- Configure Settings: Dive into your Display Settings menu to fine-tune. Extend your display, adjust resolution, or set up mirroring based on your needs.
Troubleshooting: When Things Go Wrong
Sometimes, things don’t go as planned. Here’s a quick troubleshooting guide to common issues:
No Signal Error
This can be incredibly frustrating. It could be due to a number of reasons, but here’s a checklist that may help:
- Check Cable Connection: Make sure the cable is securely connected at both ends.
- Input Source: Ensure your monitor is set to the correct input source.
- Update Drivers: Sometimes, the issue could be outdated drivers. Check your laptop’s manufacturer website for the latest updates.
Display Resolution Issues
If the resolution looks off, head back to your Display Settings menu to adjust. Your monitor’s native resolution often provides the best visual experience.
Audio Problems
If you’re using HDMI or USB-C and not getting any sound, make sure your laptop’s audio output is set to the external monitor. This can usually be adjusted in the audio settings menu of your operating system.

Advanced Features: Beyond Just Plugging It In
Alright, let’s go a step further. There are a few advanced features that might pique your interest.
Dual Monitors
Why settle for just one monitor? If your laptop supports it, dual or even triple-monitor setups can massively boost productivity. Simply plug in additional monitors and adjust settings accordingly.
External GPU (eGPU)
For those who need a little extra horsepower, especially gamers and creative professionals, an external GPU can be connected via Thunderbolt 3 ports. This setup can significantly enhance graphical performance and even add additional display outputs.
Wireless Solutions
Sick of cables? Cutting-edge wireless HDMI and WiDi (Wireless Display) technologies are making it easier than ever to connect your laptop to a monitor without wires. Just ensure both devices support the technology, and you’re good to go.
Use Cases: Practical Applications
Different scenarios call for different setups. Let’s explore a few use cases:
Work from Home
Many of us are working from home more frequently. An additional monitor can serve as a second screen for increased productivity, allowing you to spread out documents, presentations, and video calls.
Casual Gaming
For casual gamers, a second monitor can be a game-changer. Imagine having your game on one screen and your Twitch chat or Spotify playlist on another.
Creative Work
Creative professionals can benefit substantially from multiple displays. Photo and video editing, graphic design, and music production often require several open windows or applications, making additional screen real estate invaluable.
Education
Students can use a secondary monitor for research while writing papers or attending online classes. It helps keep everything organized and easily accessible.
Conclusion: A Simple, Yet Powerful Upgrade
So, can you just plug your laptop into a monitor? The short answer is yes, but as we’ve discovered, there are a handful of steps to ensure the process is smooth and the end result is visually pleasing. By understanding compatibility, selecting the right cable, configuring settings, and exploring additional features, you can significantly enhance your computing experience.
Isn’t that just a wonderful thing? Now, excuse me while I go find my HDMI cable. I think it’s under that pile of old tech gadgets in my closet.


