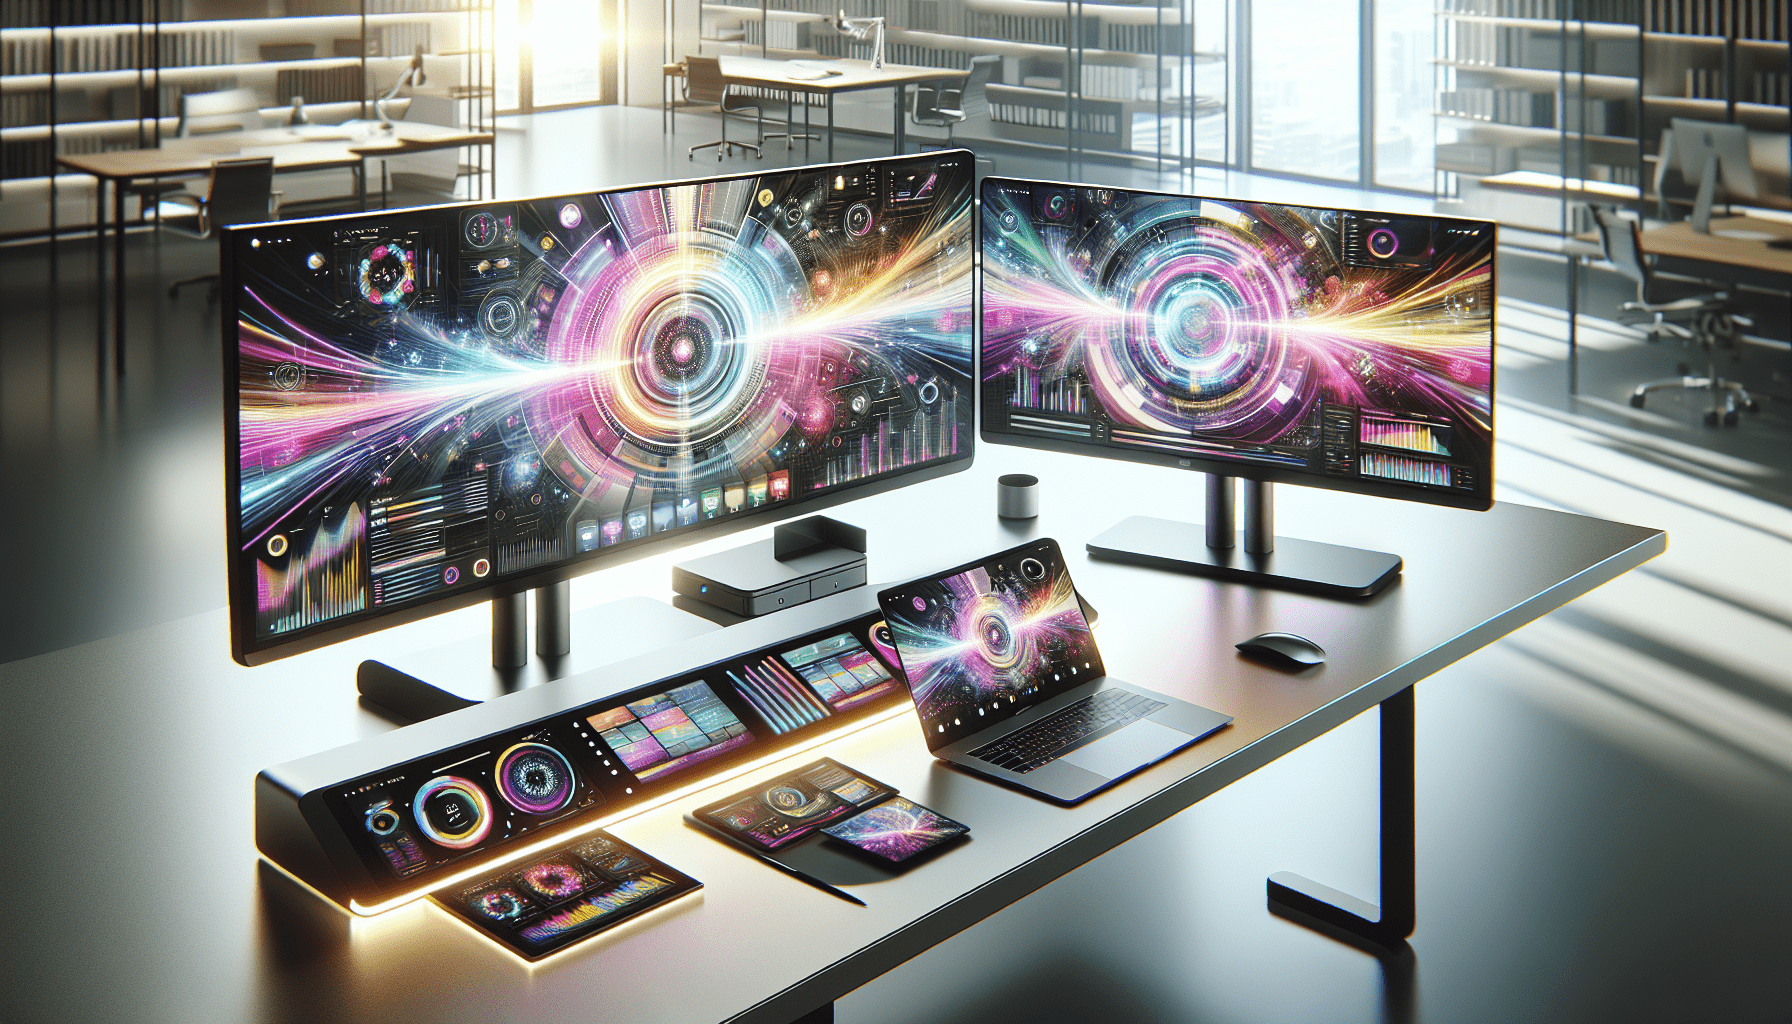
Have you ever wondered what it takes to transform your humble laptop into a multi-screen workstation that would make even the most professional tech enthusiast pause for admiration? Well, it’s a little slice of convenience and efficiency we all wish we had at our fingertips. Today, we’re going to explore the components you need to set up a 3-screen configuration using your trusty laptop, a dock, and some extenders. Spoiler alert: it’s simpler than you might think and oh-so-worth-it once you’ve got it going.
Why Consider a 3-Screen Setup?
Let’s begin with the why before we venture into the how. Setting up a 3-screen environment around your laptop isn’t just about feeling like you’re in a tech-savvy sci-fi film; it’s about productivity, efficiency, and frankly, a bit of personal satisfaction witnessing your personal command center at work. With more screen real estate, we can multitask with grace, manage tasks more seamlessly, and minimize the dreaded alt-tabbing to switch between windows. It’s the magic we didn’t know we needed.
Productivity Boost
Way back when, studies showed that a dual-screen setup could increase productivity by around 20-30%. Double that to a tri-screen setup, and while we can’t promise you exponential increases, the potential for getting more done with less eye strain is undeniable.
Visual Comfort
Imagine spreading out all your work without having to squint or endlessly scroll through tabs. It’s as if the words on our screens breathe a little more easily, and so do we.
Multitasking Perfection
For anyone juggling between email, spreadsheets, and that creative project that’s due next week, having three screens feels a bit like owning the golden ticket to multitasking heaven.
What You Need For a 3-Screen Setup
Before we all succumb to screen envy, let’s map out exactly what we need to make this setup a reality. The journey to a triumphant tri-screen workstation involves three main gadgets: the laptop, a docking station, and screen extenders. Each of these plays a crucial role in the setup, acting as instruments in our virtual orchestra.
The Heart: Your Laptop
Our trusty laptops are where the magic begins. For this setup to work effectively, ensure your laptop boasts support for external monitors. Most modern laptops come equipped with HDMI, USB-C, or DisplayPort outputs. But, checking the specifics is always a smart move.
Laptop requirements:
- At least a dual-core processor
- Minimum 8GB RAM
- Compatible ports (HDMI, USB-C, or DisplayPort)
The Backbone: A Docking Station
Docks aren’t just for ships. Our tech dock serves as the bridge connecting our laptop to the vast universe of additional screens and peripherals. Investing in a high-quality dock can streamline connections and unclutter our workspace.
Key features of a Dock:
- Multiple video output options (HDMI, DisplayPort)
- Additional USB ports for peripherals
- Ethernet port for stable wired internet
- Power delivery capability to keep our laptop charged
| Feature | Importance |
|---|---|
| Video Outputs | Essential for multi-screen connections |
| USB Ports | Keep other gadgets connected |
| Ethernet Port | Ensures reliable internet connection |
| Power Delivery | Keeps the laptop constantly charged |
The Expanders: Screen Extenders
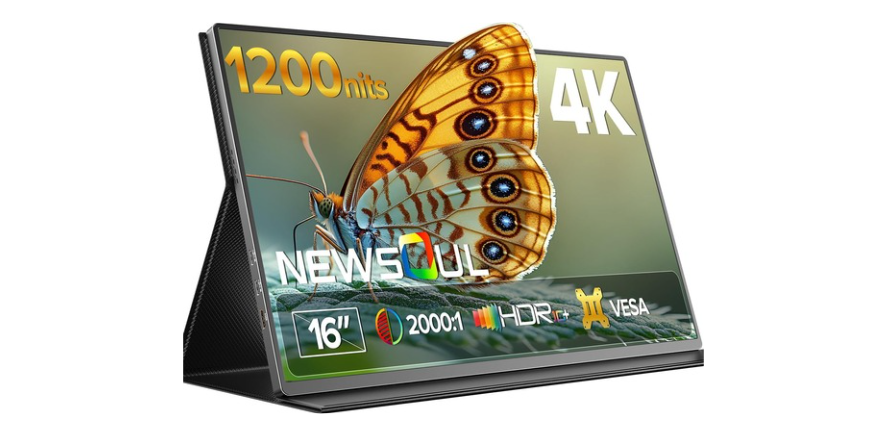
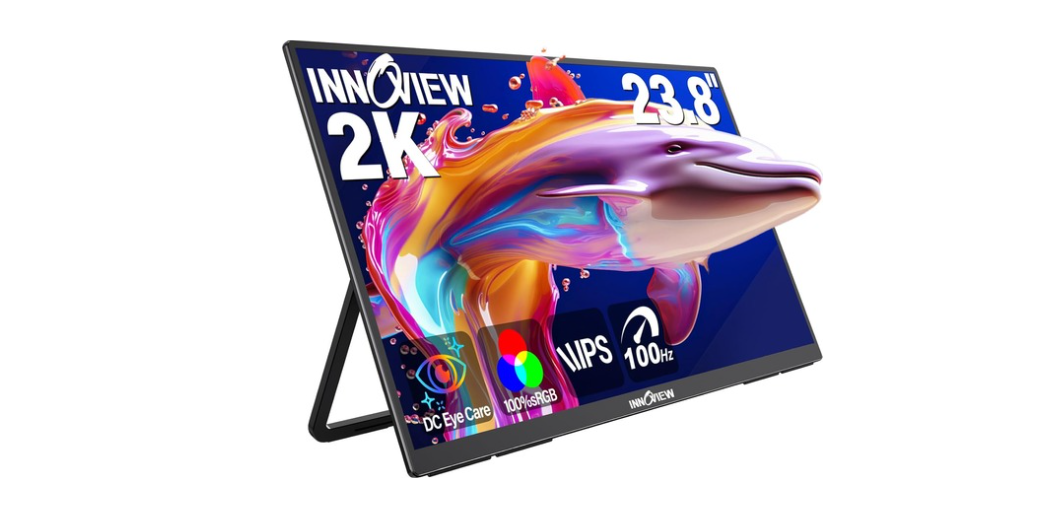
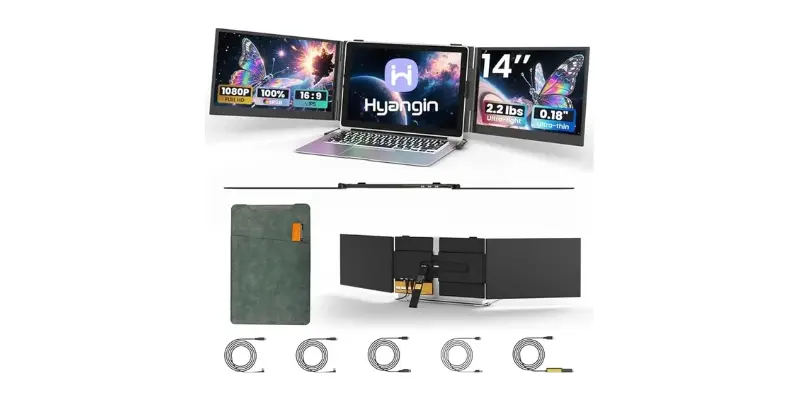
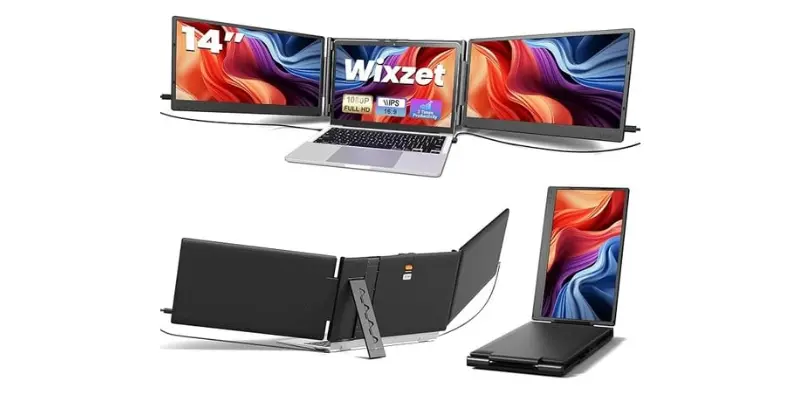
The real stars of our new visual landscape, screen extenders (or additional monitors) give depth to our workspace. The key is compatibility and size, depending on usage and desk space.
Considerations for screen extenders:
- Resolution: Opt for Full HD or above
- Screen size: Ranges between 21 to 27 inches offer good flexibility
- Refresh rate: Aim for at least 60 Hz for smooth visuals
Connecting It All Together
Once we have gathered our gadgets, connecting them to create a seamless setup is both an art and a science. Here’s a play-by-play of how we can do it.
Step 1: Position Your Monitors
Arrange the screens before diving into the technical connections. It’s a little bit like arranging a living room: we want functionality with a dash of style. Position the screens to minimize head movement and increase line of sight. Typically, the laptop sits in the center with extenders flanking the sides.
Step 2: Connect the Docking Station
This is where our dock struts its stuff. Connect it to your laptop using the dedicated port (often USB-C) and power it up. Prepare to be amazed as this little device coordinates the highway of data traveling between your laptop and external monitors.
Step 3: Hook Up the Extenders
Use HDMI or DisplayPort cables to connect the monitors to the dock. Some docks might require adapters if the output ports differ from the input ports on your monitors. It’s like connecting the dots, but more rewarding.
Step 4: Power Everything On
Power up the monitors, docking station, and laptop. Computers are quirky, so it might take a good reboot (or two) for everything to sync perfectly. Adjust display settings within your computer’s settings to detect and configure each screen.
Solving Common Setup Issues
Technology is both a savior and a stressor. Let’s discuss some common hiccups and how we can smooth them out.
Monitors Not Detected
This is a heart-dropping moment but often fixable. First, double-check all connections. Try different cables or ports if detection issues persist. Sometimes a dock firmware update or changes in display settings can resolve detection woes.
Resolution Mismatches
A visually unsatisfying experience indeed. Head into the display settings on the computer to manually adjust the screen resolution. Strive for uniformity across monitors if possible to avoid visual discrepancies.
Refresh Rate Inconsistencies
Jerky motion on one monitor can derail our concentration. Ensure that all monitors share similar refresh rates. Aligning this aspect can largely eliminate motion inconsistencies across screens.

Enjoying Your 3-Screen Setup
Once everything is connected and running smoothly, it’s time to bask in the glory of your new setup. Not only have we increased functionality, but our desk now looks like a space befitting of our ambitious endeavors.
Optimizing Workflow
Latch onto the power of three by customizing our setup based on tasks. The central screen is perfect for main projects, while the side screens can handle supporting references, communications, or multimedia.
Creating a Comfortable Environment
Ergonomics is key. Adjusting screen height, distance, and angle can prevent strain and fatigue. Invest in a good chair, and make breaks an integral part of your workflow.
Regular Maintenance
Keep this tech ecosystem healthy with regular updates, cable inspections, and dusting. Treat it like a valued investment—it is!
Final Thoughts
This journey from a single to a 3-screen setup is much more than a mere tech experiment. It’s about creating a tailored workspace that meets our needs, enhances our productivity, and brings joy in little ways every day. It’s about taking control of our tech environment and making it work for us.
It’s time. Let’s embrace this new world with excitement and a touch of patience. The transformation is bound to be as rewarding as it is stunning.
