Have you ever wondered how to send a screen through USB-C? I certainly have. It seems like a mystery at first. With so many cables, ports, and tech jargon, it’s easy to get overwhelmed. But don’t worry, I’ll take you through it step by step, and by the end of this, you’ll be a USB-C aficionado.
What is USB-C?
USB-C, short for Universal Serial Bus Type-C, is the latest iteration in USB technology. It’s more compact and reversible, and it can carry more power and data than its predecessors. Did I mention it’s reversible? That means no more fumbling to plug it in correctly. Finally.
The Many Uses of USB-C
This versatile little port isn’t just for charging your devices. Oh no, its capabilities far exceed that. Here’s a handy list to give you an overview:
- Charging: USB-C can deliver up to 100W of power, which is why many laptops now use this port for charging.
- Data Transfer: Transfer speeds are faster than ever, reaching up to 40 Gbps if you use USB 4.
- Video Output: Yes, this is where it gets interesting for us. USB-C can carry video signals, connecting you to your monitor or TV.
Understanding USB-C Alternate Modes
So, how exactly does USB-C send video to a screen? This is where USB-C Alternate Modes come into play. What are these “Alternate Modes,” you ask? It’s like a secret feature of USB-C ports that allows them to carry more than just your standard USB data.
Fundamental Alternate Modes for Video Output
- DisplayPort Alt Mode: One of the most common modes. It allows USB-C to send DisplayPort signals. Good news if your monitor supports DisplayPort.
- HDMI Alt Mode: Though less common, it’s a good option if you’re connecting to a TV or an older monitor.
| Alternate Mode | Use Case | Devices Commonly Supported |
|---|---|---|
| DisplayPort Alt Mode | Connecting to modern monitors | Laptops, Smartphones |
| HDMI Alt Mode | Connecting to TVs and older monitors | Some laptops, adaptors |
Identifying if Your USB-C Port Supports Alternate Modes
Having a USB-C port isn’t enough; it needs to support these alternate modes.
- Check the Manufacturer’s Documentation: This is usually a surefire way but requires some digging.
- Look for Icons Near the Port: Sometimes, you’ll see tiny symbols next to your USB-C port, indicating it supports video output.
- Testing It Out: The old-fashioned “plug and play” test. Suppose your screen lights up; congratulations!
Necessary Hardware
Having the right hardware can make or break your USB-C to-screen experience. Let’s break down what you’ll need:
USB-C Cable
Not all USB-C cables are created equal. Some only support charging, while others can carry data but no video. When choosing a USB-C cable for screen output, look for:
- High Speed: USB 3.1 or USB 4 is preferable.
- Power Delivery: If you also plan on charging your device.
- Video Support: This is crucial for our purposes.
Adapters and Hubs
Depending on the kind of screen or monitor you have, you might need an adapter.
| Adapter Type | Usage Scenario | Pros | Cons |
|---|---|---|---|
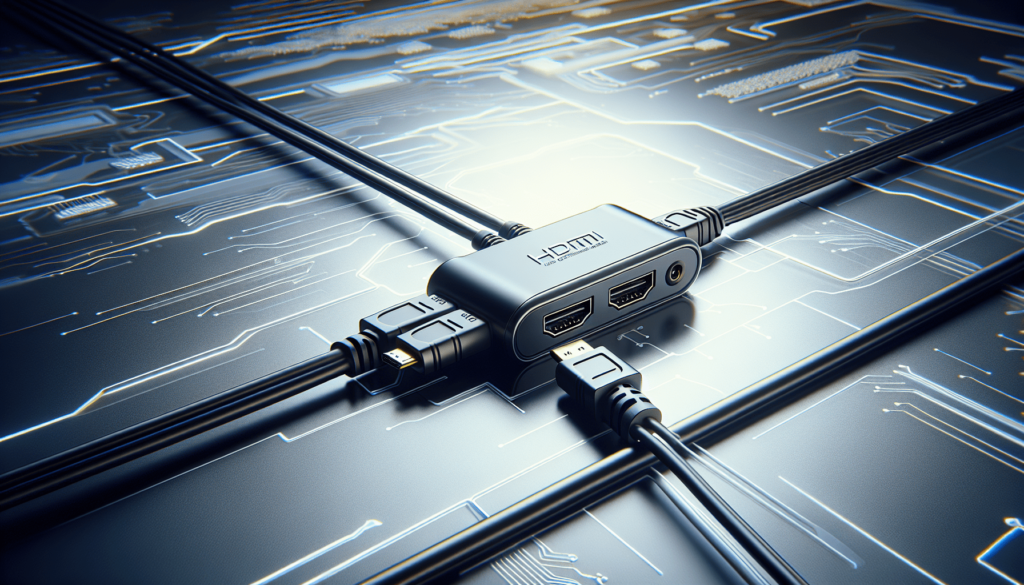
| USB-C to HDMI | Older monitors and TVs | Widely supported, easy setup | Sometimes bulky |
| USB-C to DisplayPort | Modern monitors | High resolutions, refresh rates | Requires DisplayPort-ready monitor |
| Multi-port Hubs | Multiple peripheral connections | Versatile, can connect many devices | Can be expensive |
Steps to Send a Screen Through USB-C
Let’s get into the nitty-gritty details now. I will walk you through the steps of sending a screen through USB-C.
Step 1: Check Compatibility
First and foremost, make sure your device supports screen output through USB-C. As we covered earlier, not all USB-C ports are up for the task.
Step 2: Choose the Right Cable/Adapter
Based on what screen or monitor you’re using, pick the appropriate cable or adapter. Refer to the table above if you’re still undecided.
Step 3: Connect Your Devices
This is the easy part: connect one end of your USB-C cable to your laptop/device and the other to your screen or adapter.
Step 4: Configure Display Settings
This is where it gets a bit more technical. Your devices must recognize each other before anything pops up on the screen.
- On Windows: Right-click on your desktop and select “Display settings.” From there, you can extend, duplicate, or use only the second screen.
- On macOS: Go to System Preferences > Displays. macOS generally auto-detects the screen, but you might need to fiddle with the arrangement and resolution.
Step 5: Troubleshooting
If things aren’t working as seamlessly as hoped, don’t fret. Here are some common problems and their solutions:
| Problem | Possible Causes | Solutions |
|---|---|---|
| No Signal | Wrong cable or adapter. Port not supported | Check compatibility, try another cable |
| Low Resolution | Incorrect settings | Adjust display settings |
| Flickering Screen | Poor quality cable | Invest in a better cable |
| Intermittent Connection | USB-C port issues | Try another port or restart your device |

Advanced Tips and Tricks
After you’ve mastered the basics, there are some advanced techniques and tips that can streamline your USB-C display experience.
Using a Docking Station
For those looking to connect multiple devices and screens, a USB-C docking station can be a lifesaver. It’s essentially a hub that expands the capabilities of your single USB-C port, providing you with more ports than you ever thought possible.
Updates and Drivers
A little less glamorous but equally important is keeping your drivers and firmware updated. Outdated drivers might limit the performance or functionality of your USB-C connection.
Power Delivery
If your device supports Power Delivery (PD), you can charge your laptop or phone while sending video to your screen. It’s like the Swiss Army knife of ports.
Real-World Applications
Understanding how to send a screen through USB-C isn’t just a cool party trick; it’s convenient. Here are some real-world scenarios where this knowledge comes in handy:
Working from Home
The boom in remote work has made having a second screen almost a necessity. USB-C to connect an external monitor to your laptop can dramatically improve your productivity.
Presentations
Gone are the days of fumbling with VGA cables and adapters. A USB-C to HDMI setup ensures you can seamlessly connect to any projector or TV screen.
Gaming
For gamers, particular gaming laptops and even some consoles support USB-C output, letting you connect to a higher resolution or larger screen.
Entertainment
Stream your favorite shows and movies from your laptop to your TV. A USB-C to HDMI adapter can make your computer the ultimate entertainment hub.
FAQs
Can I use a USB-C cable to send the video?
Not all USB-C cables are created equal. Make sure the cable supports video output, typically USB 3.1 or higher.
What if my laptop doesn’t support USB-C?
If your laptop doesn’t have a USB-C port, you can explore other options like HDMI or DisplayPort, but USB-C is pretty ubiquitous with new hardware.
How does USB-C compare to other ports?
USB-C is more versatile, offering higher data transfer rates, more power delivery, and the ability to send video all through a single cable.
Can I use USB-C to charge my laptop and send video simultaneously?
Absolutely! If your device supports Power Delivery, you can do both simultaneously.
Why is my screen flickering or showing a poor resolution?
This could be due to a low-quality cable, incorrect settings, or insufficient driver support. Always ensure you’re using a high-quality cable and your devices are updated.
Conclusion
So, there you have it, everything you need to know about sending a screen through USB-C. It’s surprisingly straightforward once you break it down. With a suitable cable and a few simple steps, you can elevate your display game to a new level. I hope you find this guide helpful and that it makes your life just that little bit easier. Now, go forth and connect those screens!


