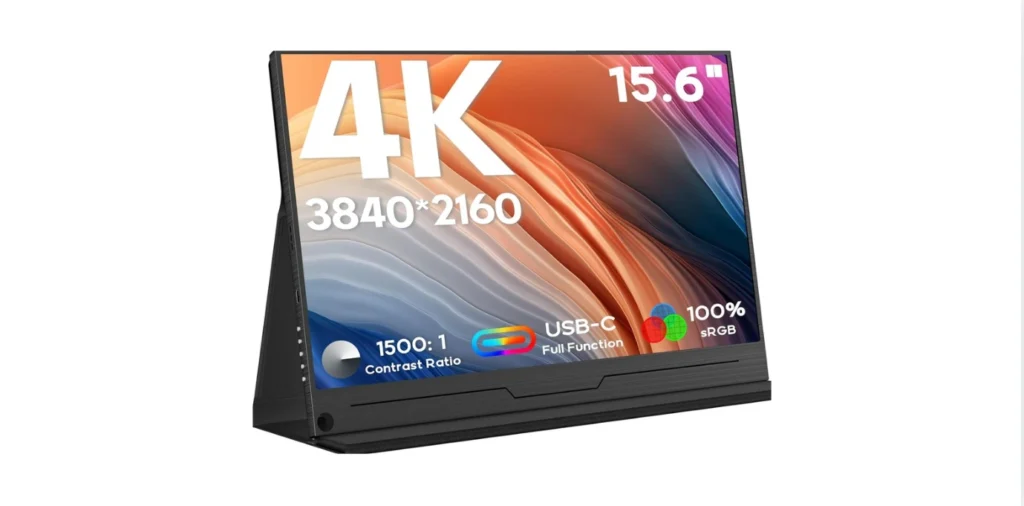
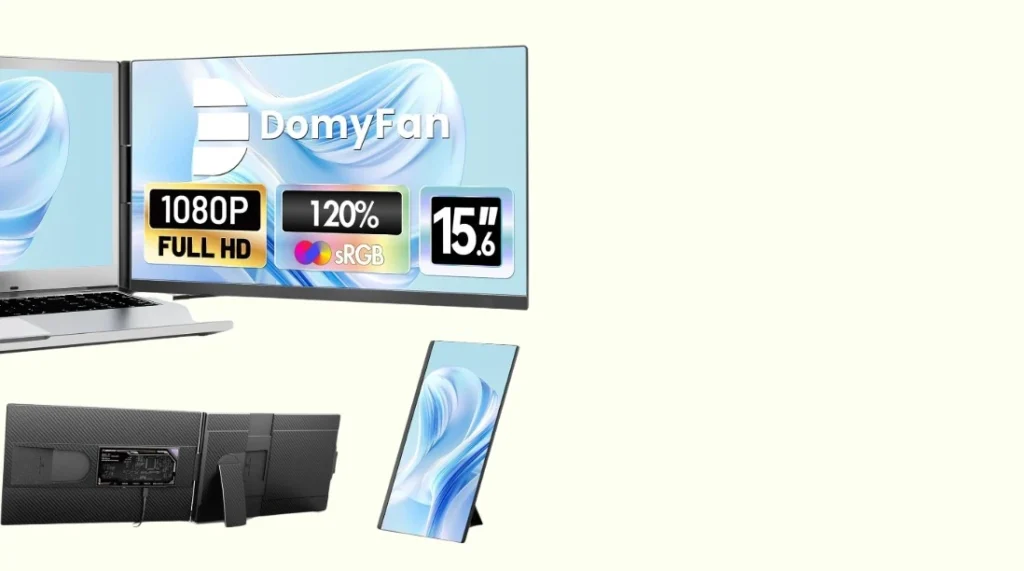
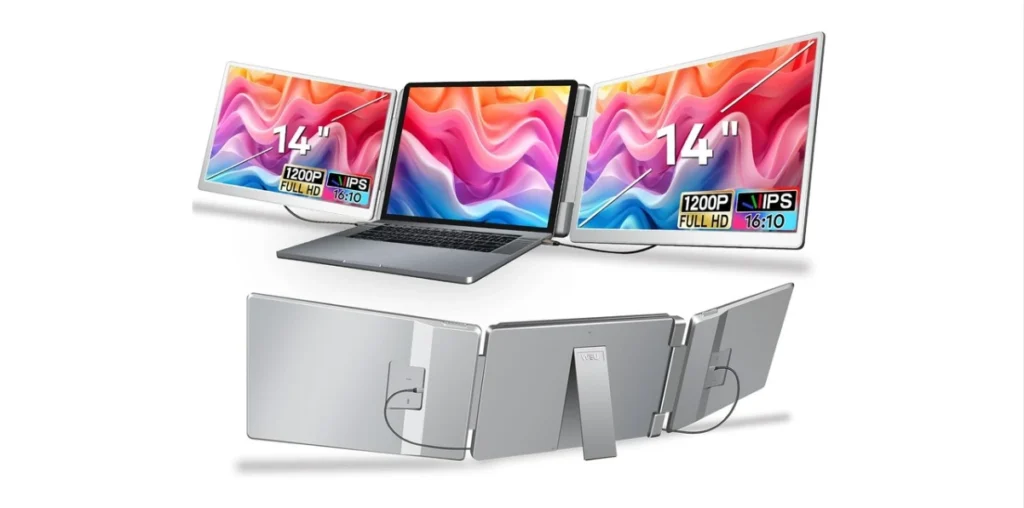
Have you ever found yourself drowning in a sea of open tabs, yearning for more screen space? If you’re constantly juggling multiple applications, spreadsheets, or video calls, you might have thought, “There has to be a better way!” Well, my friend, let me introduce you to the life-altering world of laptop display extenders. Yes, you heard that right—extra screens that you can attach to your laptop! And trust me, these little gadgets can make you feel like a multitasking superhero. Let’s embark on a fun and informative journey to discover how these nifty tools can seriously up your productivity game.
Why Consider a Laptop Display Extender?
Before we leap into the hilarity and usefulness of laptop display extenders, let’s understand why you might need one in the first place. Picture yourself toggling between ten different tabs—exhausting, right? A laptop display extender can solve this problem effectively.
Enhanced Productivity
You’ve probably heard that more screen space equals more work done. Well, it’s true. By adding an extra display, you can have multiple applications open side by side. For instance, you might have your email on one screen, your spreadsheet on another, and that funny cat video you’re procrastinating with on the third.
Versatile Uses
With a laptop display extender, you can extend your display for presentations, expand your workspace for creative projects, or keep your social media platforms within sight without having to toggle back and forth. It’s a versatile tool that adapts to your working style.
Reduced Strain
Ever heard of “alt-tab fatigue?” Constantly switching tabs can not only slow down your work but can also strain your eyes. A laptop display extender reduces the need to switch tabs, thereby minimizing eye strain and increasing your comfort.
On-the-Go Efficiency
Imagine being on a work trip and needing to give an impromptu presentation. With a laptop display extender, you can easily set up a dual-screen display wherever you go. This portability ensures you have your productive setup no matter where you are.
Types of Laptop Display Extenders
Now that you’re sold on the idea of extending your laptop display, let’s break down the different types. There are basically three kinds you can choose from. Each has its own pros and cons, so let’s get into it!
| Type | Pros | Cons |
|---|---|---|
| Clip-On | Easy to attach; portable | Smaller screen sizes |
| Docking Station | Multiple port options, additional features | Bulkier, typically desk-bound |
| Wireless Displays | No cables, clean setup | Latency issues, battery drain |
Clip-On Display Extenders
These are the lightweight champions in the realm of screen extenders. A clip-on display extender usually attaches directly to your laptop and is incredibly portable.
Docking Stations
Docking stations are the Swiss Army knives of laptop display extenders. These often come with multiple ports, so you can connect various devices including monitors, keyboards, and mice.
Wireless Displays
If you prefer a cleaner, cable-free setup, wireless displays are a fantastic option. These connect via Wi-Fi or Bluetooth, offering you the freedom to place your screen wherever you like.

Features to Look for in a Laptop Display Extender
Choosing the suitable laptop display extender can be like selecting the perfect piece of chocolate; there are many options, each with varying degrees of sweetness.
Screen Size and Resolution
Size does matter when it comes to screens, but so does the resolution. A larger screen size can provide more workspace, while a high resolution ensures the display is crisp and clear.
Connectivity Options
Depending on your laptop’s ports and your specific needs, you’ll want to check the connectivity options available. USB, HDMI, and Thunderbolt are standard options.
Portability
If you’re always on the move, the weight and ease of setup will be crucial. Clip-on and wireless extenders generally offer the most portability.
Additional Features
Look out for added features like built-in webcams, adjustable brightness, and even touchscreen capabilities. These can enhance your overall user experience.
Setting Up Your Laptop Display Extender
Now that you’ve chosen your display extender, it’s time for the setup. Fear not; it’s usually as simple as making instant noodles, although, spoiler alert, you might need to follow the instructions!
Step-by-Step Guide
- Unbox Your Extender: Take a moment to admire your new piece of tech.
- Attach or Place: If it’s a clip-on, attach it to your laptop. For docking stations, place it securely on your desk.
- Connect the Cables: Plug in the necessary cables, USB, HDMI, or Thunderbolt, as required.
- Install Drivers: Some extenders might need drivers. Follow the instructions to install them.
- Configure Your Display Settings: Go to your laptop’s display settings to arrange how you want your screens to be displayed.
Troubleshooting Tips
Even the best-laid plans can go awry. Here are some troubleshooting tips if you face any issues:
- Loose Connections: Ensure all your cables are securely connected.
- Update Drivers: Make sure your drivers are up-to-date to avoid any compatibility issues.
- Check Power Supply: Some extenders might require an external power source. Confirm it’s adequately powered.
- Resolution Settings: If things look fuzzy, adjust your display settings.
Making the Most of Your Extended Display
Congratulations, you’ve set up your display extender! But how do you make the most of your newfound screen real estate?
Organize Your Workspaces
You can assign each screen a specific role. For example:
- Screen 1: Emails and communication tools like Slack.
- Screen 2: Primary work applications.
- Screen 3: Reference materials or secondary apps.
Keyboard Shortcuts
Mastering keyboard shortcuts can make navigating multiple screens a breeze. For instance, Alt + Tab for switching between apps or using Windows Key + P to adjust projection settings.
Productivity Tools
Utilize productivity tools like Trello for project management or Toggle for time tracking. Having these tools on separate screens can drastically improve your workflow.
Real-Life Scenarios
Let’s get into some humor and real-life applications. Imagine these scenarios with and without an extended display.
Scenario 1: The Overzealous Office Worker
Without Extender: You find yourself clicking through tabs like a mad scientist trying to keep up with emails, reports, and Slack messages.
With Extender: Emails are on your left, the report is in the center, and Slack is on the right. You feel like you’re operating NASA’s control center, but with far less stress.
Scenario 2: The Creative Guru
Without Extender: Editing a Photoshop file while referencing an inspiration board and responding to a client’s chat? Good luck juggling!
With Extender: Photoshop on one screen, the inspiration board on another, and the chat on a third. You’re in your creative element without breaking a sweat.
Scenario 3: The Coding Ninja
Without Extender: Your code is here, the documentation is there, and the testing environment is somewhere else—chaotic much?
With Extender: Write code in one window, keep the documentation open in another, and your testing environment ready on the third screen. You’re debugging like a boss.
Conclusion
Investing in a laptop display extender can significantly boost your productivity, offer more flexibility, and reduce wear and tear on your nerves. Whether you’re an office worker, a creative professional, or a coding ninja, there’s a solution out there tailored to your needs. Embrace the extra screen space and transform your work life from chaotic to smooth sailing.


