Have you ever wondered how to make the most out of your desktop screen real estate? It can be a bit of a puzzle, right? I remember the first time I tried to get my desktop screen to be more than just a cluttered mess; it felt like I was trying to solve a Rubik’s Cube blindfolded. If you’re in the same boat, fret not. Today, I’m going to share some tips and tricks that I’ve picked up along the way, which can help you maximize your desktop screen size and make your digital life a bit more spacious.

Why Screen Real Estate Matters
First things first, why should we even care about maximizing desktop screen space? For one, a well-organized screen can significantly boost your productivity. When you can see all the windows and applications you need without constantly resizing or shuffling them around, you save time and reduce frustration. Plus, a clutter-free screen is often easier on the eyes and reduces stress.
Reducing Eye Strain
Let’s not forget about our poor eyes. Staring at a screen filled with tiny windows can strain your eyes, leading to headaches and fatigue. By optimizing your desktop space, you’re letting your eyes relax a bit, making for a much more pleasant and less tiresome experience.
Enhanced Focus
Additionally, a well-organized desktop makes it easier to stay focused. There’s something zen-like about having a clean, organized workstation, whether it’s physical or digital.
The Basics: Screen Resolution and Scaling
Adjusting Screen Resolution
Let’s start with the basics—screen resolution and scaling. Your screen resolution determines how much content can fit on your display. To check or change your screen resolution on a Windows machine, right-click on your desktop and select “Display settings.”
Here’s a simple guide:
| Step | Action |
|---|---|
| 1 | Right-click on your desktop. |
| 2 | Click on “Display settings”. |
| 3 | Scroll down to “Display resolution”. |
| 4 | Choose the highest resolution available for your monitor. |
On a Mac, go to “System Preferences,” select “Displays,” then choose the desired resolution.
Understanding Scaling
Scaling comes into play, especially on higher-resolution displays. It enlarges text, icons, and other interface elements so that they are easier to see. Too much scaling, however, can make things look clunky.
For Windows:
- Go to “Display settings.”
- Scroll down to “Scale and layout.”
- Adjust the scale to your liking.
For macOS:
- Open “System Preferences.”
- Go to “Displays.”
- Click on “Scaled” and select a comfortable option.
Utilizing Multiple Desktops
Virtual Desktops on Windows
Virtual desktops are a godsend. They let you create multiple desktops and switch between them with ease, each holding different sets of open applications and windows.
To create and use virtual desktops on Windows:
- Click the “Task View” button on the taskbar or press
Windows + Tab. - Click on “New Desktop” in the top-left corner.
- Switch between desktops by pressing
Ctrl + Windows + Left/Right Arrow.
Spaces on macOS
Mac users have a similar feature called Spaces. This allows you to create multiple desktops as well:
- Open “Mission Control” (Swipe up with three or four fingers on your trackpad or press the
Control + Up Arrow). - Click the “+” button at the top to add a new Space.
- Switch between Spaces by swiping left or right with three or four fingers on your trackpad.
Window Management Tools
Sometimes, built-in tools aren’t enough. I’ve found that using third-party window management tools can offer far more flexibility and efficiency.
Windows PowerToys
For Windows users, PowerToys is an excellent add-on that can help manage windows:
- Download and install PowerToys from GitHub.
- Use features like “FancyZones” to create custom window layouts.
Magnet for macOS
On macOS, I highly recommend Magnet:
- Download Magnet from the App Store.
- Magnet lets you snap windows to corners, sides, or even to a grid, making window management a breeze.
| Tool | Platform | Description |
|---|---|---|
| PowerToys | Windows | Custom window layouts and other utilities |
| Magnet | macOS | Snap windows to specific parts of the screen |
Keyboard Shortcuts
Ah, shortcuts. They are like the secret handshakes of the digital world. Knowing a few useful keyboard shortcuts can dramatically improve how you manage your screen space.
For Windows
Here’s a handy list for Windows:
Windows + D: Show/Hide the desktop.Windows + Up Arrow: Maximize the current window.Windows + Down Arrow: Minimize the current window.Windows + Left/Right Arrow: Snap the window to the left or right half of the screen.Windows + P: Project the screen to another display.
For macOS
And for my Mac friends, here are some useful ones:
Command + Control + F: Toggle full-screen mode.Control + Up Arrow: Open Mission Control.Control + Left/Right Arrow: Move between Spaces.Command + Option + M: Minimize all windows.Command + Option + H: Hide all windows except the active one.
Decluttering Your Desktop
Let’s face it; it’s easy to let your desktop become a dumping ground for files, screenshots, and random folders. Decluttering is essential for maximizing your screen space.
Organize Files and Folders
Start by organizing your files into folders. Keep your desktop for frequently accessed files and shortcuts. Regularly move files you don’t need immediate access to into a dedicated “Documents” folder or an external drive.
Using Desktop Stacks in macOS
If you’re on a Mac, you can use Desktop Stacks to automatically sort files into neat piles based on type:
- Right-click on the desktop.
- Select “Use Stacks.”
Delete Unnecessary Shortcuts
Be ruthless with shortcuts. If you haven’t clicked on that shortcut in the past month, do you really need it?
Cloud Storage
Keep your desktop clutter-free by using cloud storage solutions like Google Drive, Dropbox, or OneDrive. Store files in the cloud and access them only when needed.
Making Use of Widgets and Gadgets
Remember those nifty widgets and gadgets that can reside on your desktop? They can either clutter or declutter your screen depending on how you use them.
Windows Widgets
On Windows 10 and later:
- Right-click on the taskbar.
- Select “News and interests” to customize what you see.
- Add or remove widgets based on your needs.
macOS Widgets
For macOS:
- Click on the date and time in the top-right corner.
- Scroll to the bottom and click “Edit Widgets” to customize your selection.
Using Ultrawide and Multiple Monitors
Ultrawide Monitors
Ultrawide monitors give you a vast canvas to work with. They can significantly enhance productivity by allowing multiple applications to be open side-by-side without the need for multiple monitors.
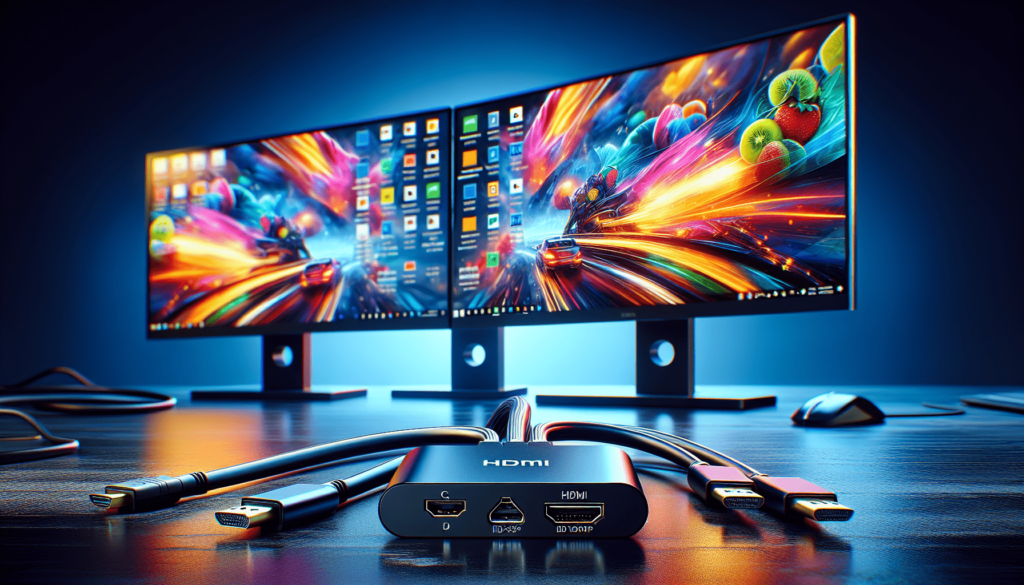
Dual or Multiple Monitor Setups
If you’re using multiple monitors, here’s how to set them up:
- Connect the monitors to your computer.
- For Windows:
- Right-click on the desktop and select “Display settings.”
- Under the “Multiple displays” section, configure the layout.
- For macOS:
- Go to “System Preferences.”
- Select “Displays.”
- Click the “Arrangement” tab to organize your monitors.
Managing Browser Tabs
A browser with tons of open tabs can become another clutter monster. Here’s how to manage it:
Use Tab Groups
Most modern browsers, like Chrome and Edge, offer tab grouping. Right-click on a tab and select “Add tab to new group” to start organizing.
Extensions to the Rescue
Use extensions to manage tabs better. Some suggestions include:
- OneTab: Converts all your tabs into a list.
- The Great Suspender: Suspends tabs to free up system resources.
Optimizing Taskbar and Dock
We often overlook the taskbar (Windows) or the dock (macOS), but optimizing these can also free up valuable screen space.
Customizing the Taskbar (Windows)
- Right-click on the taskbar and select “Taskbar settings.”
- Change the taskbar location to the left or right for more vertical space.
- Use small taskbar buttons to make it less obtrusive.
Customizing the Dock (macOS)
- Open “System Preferences.”
- Click “Dock & Menu Bar.”
- Adjust the size and magnification to your liking.
Tidying Up Your Email Client
Yes, even your email client can contribute to screen clutter. Here’s how to streamline it:
Unclutter Your Inbox
Use filters or labels to automatically sort emails into folders. Archive or delete emails regularly.
Simplify the Interface
Most email clients allow you to customize the interface. Hide unnecessary panels or toolbars to make the interface cleaner.
Using Software to Edit Window Sizes
Sometimes, the built-in window management features just don’t cut it, and you might need third-party software to help you fine-tune window sizes and arrangements.
GridMove for Windows
GridMove allows you to define a grid on your screen and snap windows into these predefined areas. Here’s how to get started:
- Download GridMove from its official website.
- Open the application and set up your custom grid.
- Drag windows into place and they’ll snap into the grid.
BetterSnapTool for macOS
For Mac users, BetterSnapTool offers similar functionality:
- Download BetterSnapTool from the App Store.
- Open the application and configure your snapping regions.
- Drag windows to snap them into your custom regions.
| Software | Platform | Description |
|---|---|---|
| GridMove | Windows | Snap windows into custom-defined grids |
| BetterSnapTool | macOS | Snap windows into custom-defined regions |
Practical Tips for Specific Applications
Certain applications can often be space hogs, requiring special attention to keep them in check.
Microsoft Excel
Excel can consume an entire screen’s worth of space. Utilize the full screen mode by pressing F11.
Adobe Photoshop
Photoshop’s numerous panels can clutter your space. Use the Tab key to hide all panels and toolbars, giving you an uncluttered view of your canvas.
IDEs (Integrated Development Environments)
If you’re a programmer, your IDE might become unwieldy:
- Use split-screen features to view multiple files side-by-side.
- Hide toolbars and use keyboard shortcuts to navigate.
Regular Maintenance
Lastly, maximizing your desktop screen size isn’t a one-and-done deal. Regular maintenance is crucial.
Weekly Cleanup
Set aside some time each week to organize and clean your desktop. Move old files, delete unnecessary shortcuts, and generally tidy up.
Monthly Software Update
Make sure all your window management tools and applications are up-to-date. New updates often bring improved features and bug fixes that can help with window management.
Revisit Your Settings
Reevaluate your screen resolution and scaling settings periodically, especially if you upgrade your hardware or operating system.
Final Thoughts
Maximizing your desktop screen size is more about optimizing space than making everything larger. From adjusting resolution and scaling to utilizing virtual desktops and window management tools, there are numerous ways to make your digital life more organized and efficient.
Remember, a tidy screen is a happy screen—or at least one that doesn’t make you want to tear your hair out. So, take some time to implement these tips, and you might find that your computer feels a little bit more like home.
Happy maximizing!


