Have you ever found yourself wondering, “How do I extend my desktop screen?” If so, you’re definitely not alone. I often found myself drowning in tabs and programs until I discovered the magic of multiple monitors. It’s like suddenly getting more elbow room to spread out and get things done. So, let’s walk through the steps to set up and optimize your extended desktop screen.

Understanding Desktop Screen Extension
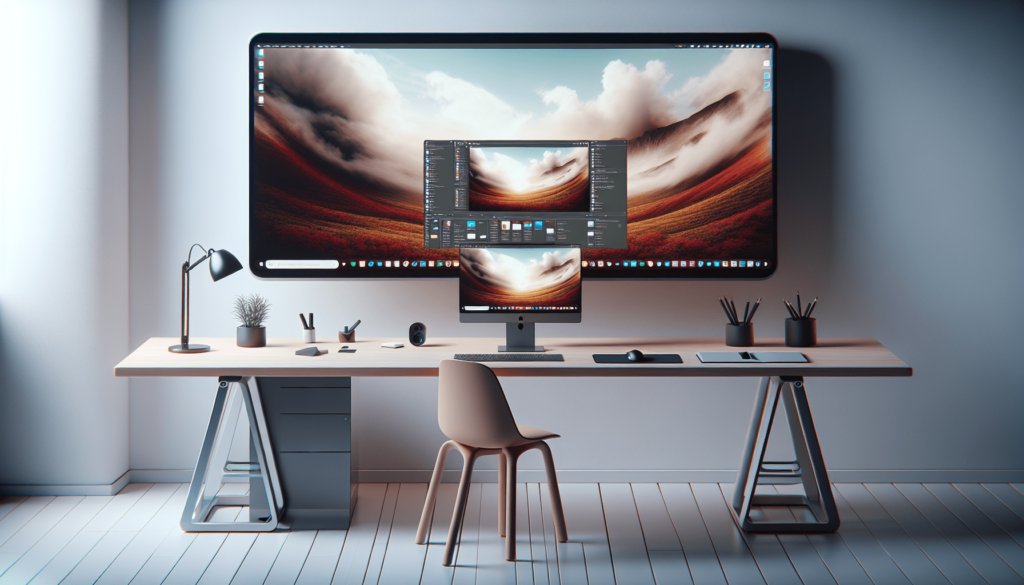
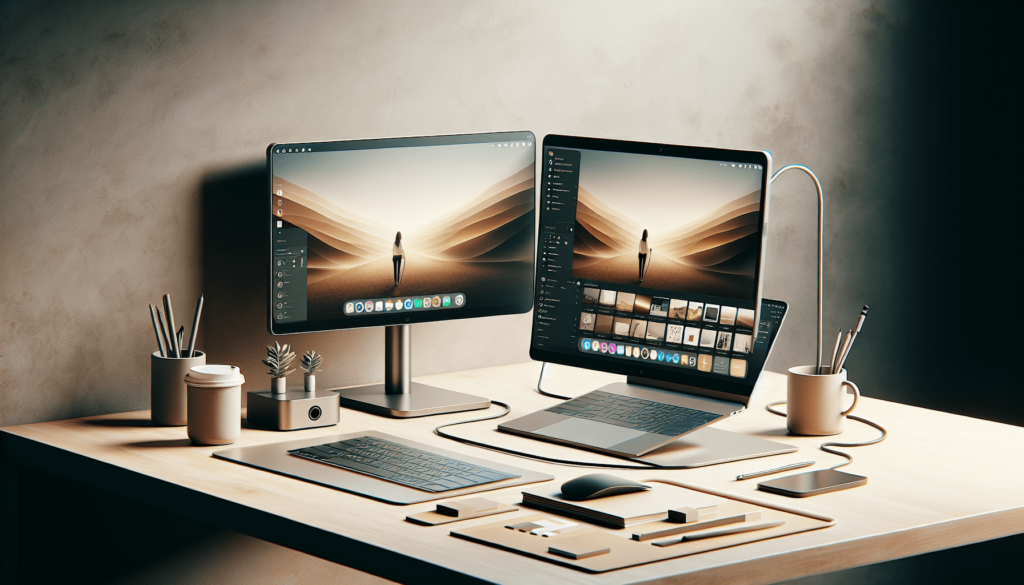
First things first, we need to understand what extending your desktop actually means. Essentially, extending your desktop involves using more than one monitor to expand your workspace. Instead of having all your windows and apps crammed onto a single screen, you can spread them across multiple monitors. Trust me, it feels like moving from a cramped studio apartment to a spacious loft.
Benefits of Extending Your Desktop Screen
There are plenty of reasons why you might want to extend your desktop screen, including:
- Increased Productivity: More screens mean more space for multitasking. You can have your email open on one screen, a document on another, and maybe some music or a reference website on a third.
- Better Organization: Your desktop is less cluttered, making it easier to find and use the applications you need.
- Enhanced Gaming and Entertainment: Gamers and movie buffs can benefit from a larger, more immersive experience.
What is Required to Extend Your Desktop Screen?
Before we get into the nitty-gritty of how to set everything up, let’s cover the basics of what you’ll need:
- Multiple Monitors: Clearly, you’ll need more than one monitor. Check to make sure they are compatible with your computer.
- A Compatible Graphics Card: Your computer’s graphics card needs to support multiple displays. Most modern graphics cards do, but if you’re running an older machine, double-check.
- Cables: You’ll need the right set of cables to connect your monitors to your computer. These could be HDMI, VGA, DisplayPort, or DVI, depending on what your hardware supports.
Step-by-Step Guide to Extending Your Desktop
So, you’ve got your monitors, and you’ve got your cables. Now what? Let’s go through the steps required to extend your desktop screen on both Windows and Mac systems.
Extending Desktop on Windows
1. Connect Your Monitors
First, you’ll need to plug your additional monitors into your computer. Use the appropriate cables (HDMI, VGA, etc.) to connect each monitor to the available ports on your graphics card.
2. Detect Monitors
Once connected, your computer should automatically detect the new monitors. However, sometimes you’ll need to give it a little nudge.
Steps to Detect Monitors:
- Right-click on the desktop and select “Display settings.”
- Scroll down and click “Detect” under the “Multiple displays” section.
3. Configure Display Settings
Now you need to configure how your displays should work together.
Steps to Configure Display Settings:
- In the “Display settings” window, you’ll see a diagram showing the arrangement of your monitors.
- Drag the monitor icons to match the physical arrangement on your desk.
- Select the monitor you want to use as your main display and check the box that says, “Make this my main display.”
- Under “Multiple displays,” select “Extend these displays.”
- Click “Apply” to save your settings.
4. Adjust Resolution and Orientation
Different monitors might have different resolutions. Adjusting them can make everything look smoother.
Steps to Adjust Resolution and Orientation:
- In the “Display settings” window, select the monitor you want to adjust.
- Under “Resolution,” pick the recommended resolution.
- If needed, change the orientation (landscape or portrait).
- Click “Apply” to save your settings.
Summary Table
| Step | Action |
|---|---|
| Connect Monitors | Use the appropriate cables to connect monitors to the graphics card. |
| Detect Monitors | Right-click desktop > Display settings > Detect |
| Configure Settings | Adjust monitor arrangement, primary display, and extension settings. |
| Adjust Resolution | Select monitor > Set resolution and orientation > Apply |
Extending Desktop on Mac
1. Connect Your Monitors
Just like on Windows, the first step is to connect your monitors to your Mac using the suitable cables.
2. Open System Preferences
Once connected, it’s time to get into the settings.
Steps to Open System Preferences:
- Click on the Apple logo in the top-left corner.
- Select “System Preferences.”
3. Arrange Displays
Now, you need to arrange how your displays should work together.
Steps to Arrange Displays:
- In the “System Preferences” window, go to “Displays.”
- Click the “Arrangement” tab.
- Drag the display icons to match your physical monitor setup on your desk.
- To set the primary display, drag the white menu bar to the display you want to use as the main one.
- Ensure “Mirror Displays” is unchecked to extend the screen, not mirror it.
4. Adjust Resolution and Orientation
You might also need to adjust the resolution for optimal display performance.
Steps to Adjust Resolution and Orientation:
- In the “Displays” window, select the monitor you want to adjust.
- Under the “Display” tab, choose “Default for display” or “Scaled” to set a custom resolution.
- If needed, adjust the rotation under the “Rotation” dropdown.
Summary Table
| Step | Action |
|---|---|
| Connect Monitors | Use the appropriate cables |
| Open System Preferences | Apple logo > System Preferences |
| Arrange Displays | Arrangement tab > Drag icons and menu bar |
| Adjust Resolution | Select monitor > Set resolution and rotation |
Troubleshooting Common Issues
No good guide would be complete without addressing some common stumbling blocks you might encounter. Here are a few that have given me grief in the past and how I managed to overcome them.
Monitor Not Detected
Sometimes, your computer might fail to detect a new monitor. This can be a real headache, but usually, there’s a simple fix.
- Check Connections: Ensure all cables are securely plugged in.
- Restart Your Computer: Sometimes, a simple restart will solve the problem.
- Update Drivers: Make sure your graphics drivers are up-to-date.
Incorrect Resolution
Another common issue is having the wrong resolution on a monitor. This can make everything look blurry or stretched.
- Check Display Settings: Go back into display settings and manually adjust the resolution.
- Update Drivers: Again, keeping your drivers updated can solve this issue.
- Try Different Cables: Sometimes, swapping out cables can make a difference.
Displays Mirroring Instead of Extending
Instead of extending the desktop, you might find your displays are mirroring each other. This is not what we want.
- Check Settings: Make sure that “Extend these displays” is selected (Windows) or “Mirror Displays” is unchecked (Mac).
- Restart Your Computer: Sometimes settings need a reboot to take effect.
Flickering or Unstable Display
If your extended display flickers or is unstable, it can be quite a nuisance.
- Check Cable Quality: Ensure the cables are not damaged and are of good quality.
- Adjust Refresh Rate: In display settings, try adjusting the refresh rate.
- Update Drivers: Make sure your drivers are current.
Making the Most of Your Extended Desktop
Now that your monitors are set up and working correctly, it’s time to optimize your workspace for increased productivity and comfort.
Ergonomic Setup
An extended desktop means more screen real estate, but it also means you need to pay attention to how you set up your workspace to avoid strain and discomfort.
Tips for Ergonomic Setup:
- Monitor Height: Adjust your monitors so that the top of the screens are at or slightly below eye level.
- Distance: Position your monitors about an arm’s length away.
- Keyboard and Mouse Placement: Ensure these are positioned so your elbows are at a 90-degree angle.
- Chair Support: Use a chair that offers good lumbar support to maintain a healthy posture.
Optimizing Display Settings
Once your physical setup is ergonomic, it’s worth spending a few minutes optimizing your display settings for maximum efficiency.
Tips for Optimizing Display Settings:
- Night Mode: Enable night mode to reduce blue light during late hours.
- Scaling: Adjust the scaling in display settings to make text and apps more readable.
- Custom Workspaces: Set up custom workspaces on each monitor depending on your daily tasks.
Using Software Tools
There are various software tools and applications designed to make managing multiple monitors easier.
Recommended Software Tools:
- DisplayFusion (Windows): A comprehensive tool that can help manage multiple monitors, including taskbars, background images, and window snapping.
- Magnet (Mac): A handy tool for organizing your workspace by easily snapping windows into place.
- Multi-Monitor Taskbar (Windows): Extends your Windows taskbar to other monitors.
| Software Tool | Platform | Description |
|---|---|---|
| DisplayFusion | Windows | Manages multiple monitors with advanced features. |
| Magnet | Mac | Snaps windows into organized positions. |
| Multi-Monitor Taskbar | Windows | Extends taskbar functionality across multiple monitors. |
Wrapping It All Up
Setting up an extended desktop might seem like a daunting task at first, but once you get the hang of it, it’s like opening a door to a whole new realm of productivity and convenience. From connecting your monitors to fine-tuning your setup, every step is a leap toward a more organized and efficient workspace.
Whether you’re battling through work emails, crafting a masterpiece, or simply diving into an epic game, extending your desktop screen can transform your experience. If you ever run into issues, refer back to this guide for troubleshooting tips. Happy extending!


